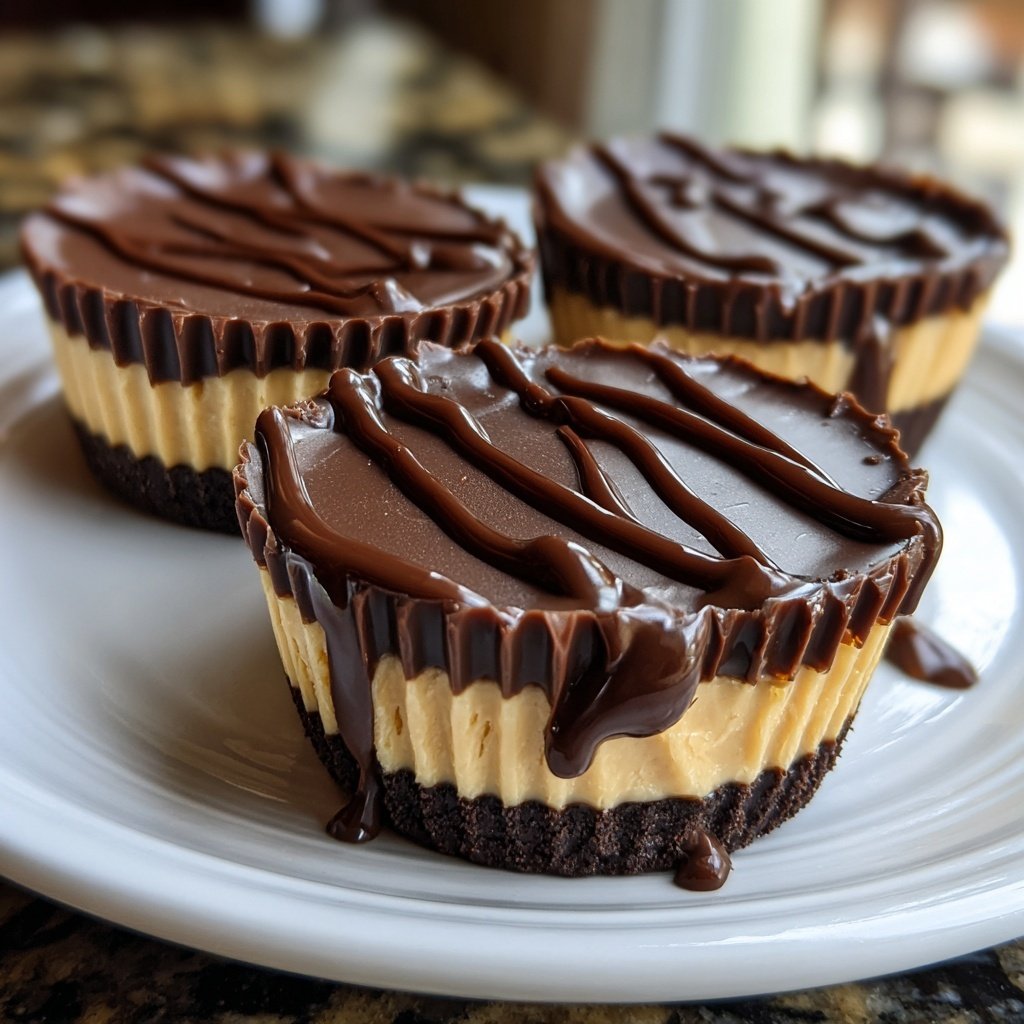
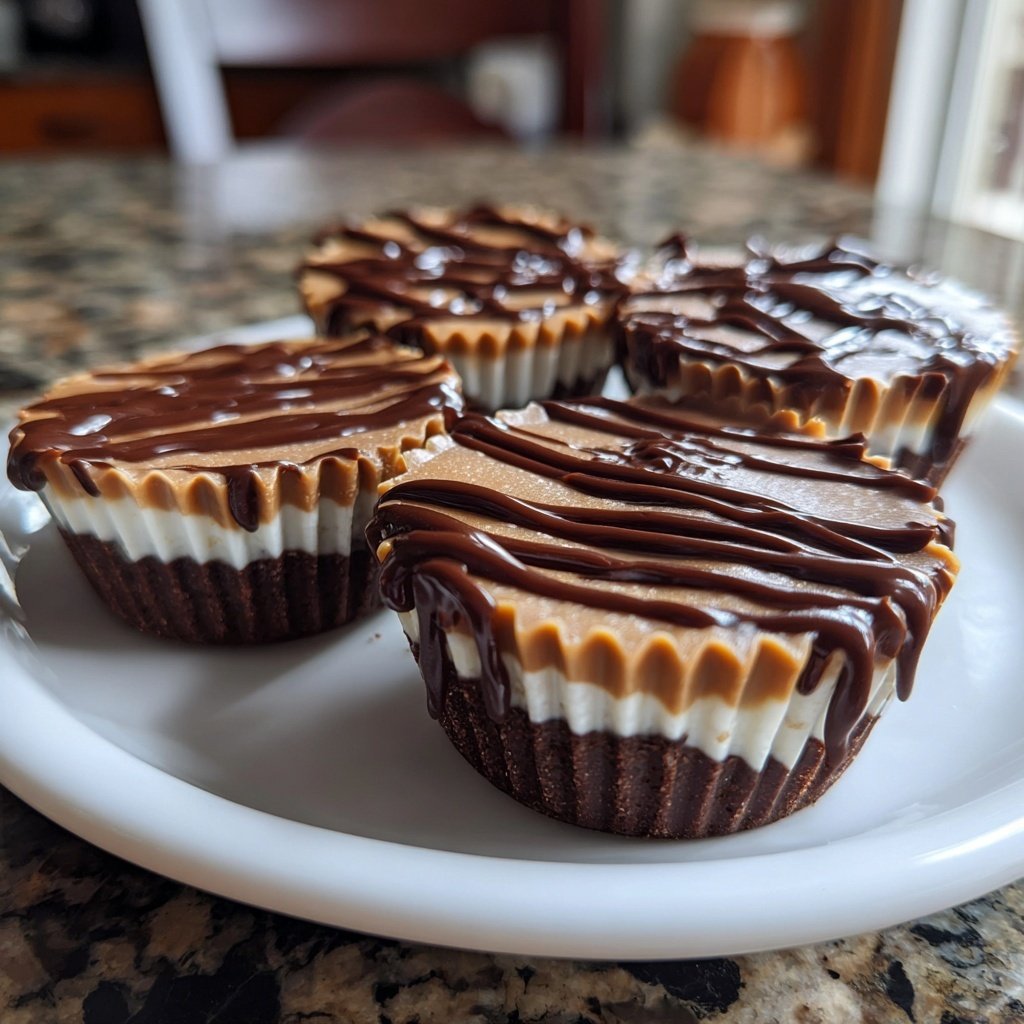
Homemade Peanut Butter Cups with Vanilla Cream
Uitgelicht onder: Bakcreaties
I absolutely love making Homemade Peanut Butter Cups with Vanilla Cream! There's something incredibly satisfying about creating a dessert that combines rich, creamy peanut butter with the lightness of vanilla cream. This recipe allows me to customize the sweetness and texture to my liking, which makes every bite a delightful experience. Plus, there's a nostalgic element to enjoying these classic treats that brings back memories of childhood. Let's dive in and make something deliciously indulgent together!
When I first tried making these Homemade Peanut Butter Cups, I was amazed at how simple and fun the process was. The combination of melting dark chocolate and creamy peanut butter is nothing short of magical. I learned that using high-quality chocolate really elevates the entire flavor of the treat. I also recommend letting the cups set in the fridge for a while to achieve the perfect consistency.
Over time, I’ve experimented with the ratios of chocolate and peanut butter, and I found that a 2:1 ratio of chocolate to peanut butter strikes the perfect balance. The addition of vanilla cream not only enhances the flavor but adds a lightness that complements the richness of the chocolate. Trust me, once you've tried these, you'll want to make them over and over again!
Why You'll Love This Recipe
- Rich chocolate flavor paired with creamy peanut butter
- Light and fluffy vanilla cream that balances the sweetness
- Perfect for satisfying any sweet tooth craving
Creating the Perfect Chocolate Shell
Achieving a smooth and glossy chocolate shell is essential for these peanut butter cups. When melting the dark chocolate chips with coconut oil, keep an eye on the consistency. The key is to stop melting immediately when the chocolate is almost fully melted and still has a few chunks remaining. This prevents overheating, which can cause the chocolate to seize. Stirring the mixture thoroughly will help melt those last pieces, resulting in a silky texture.
For the chocolate coating, it's important to let the melted chocolate cool slightly before pouring it into the cupcake liners. If it’s too hot, it might melt the liners, leading to a messy outcome. Aim for a temperature that feels warm to the touch but not scalding. This will help to create a beautifully defined layer without compromising the structure of the cups.
Making the Peanut Butter Filling
The peanut butter filling is the heart of these cups. Using creamy peanut butter ensures a smooth and luscious texture that pairs perfectly with the chocolate. If you prefer a bit of crunch, consider using crunchy peanut butter or mixing in some chopped nuts for added texture. Just be sure to adjust the sugar slightly, as a more textured filling may require a little extra sweetness to balance flavor.
When mixing the peanut butter with powdered sugar and vanilla extract, aim for a uniform texture without any lumps. Take care not to overmix, as this can introduce air and make the filling too light. Instead, stir until just combined. The filling should be thick enough to hold its shape when dolloped into the chocolate cups, leading to a satisfying bite.
Whipping the Vanilla Cream
The vanilla cream topping adds a light touch to the rich flavors of the peanut butter and chocolate. When whipping the heavy cream, start with cold cream and a chilled mixing bowl to help achieve soft peaks quicker. It’s crucial to monitor the cream closely while whipping to prevent overbeating, which can turn the cream grainy and lead to a butter-like texture. Stop mixing as soon as you see soft peaks forming.
Feel free to experiment with flavors by adding a splash of almond extract or a pinch of cocoa powder to the whipped cream for a unique twist. You can also substitute the heavy cream with coconut cream for a dairy-free option, making it suitable for various dietary needs. Simply refrigerate a can of coconut milk overnight, and use just the solidified cream on top.
Ingredients
Gather these ingredients to make your own homemade peanut butter cups.
For the Peanut Butter Cups
- 1 cup dark chocolate chips
- 1/2 cup creamy peanut butter
- 1/4 cup powdered sugar
- 1 teaspoon vanilla extract
- 1 tablespoon coconut oil
For the Vanilla Cream
- 1 cup heavy cream
- 1/4 cup powdered sugar
- 1 teaspoon vanilla extract
Make sure to have all your ingredients ready before you start.
Instructions
Follow these steps to achieve the perfect peanut butter cups.
Melt the Chocolate
In a microwave-safe bowl, combine the dark chocolate chips and coconut oil. Heat in the microwave in 30-second increments, stirring in between, until smooth and fully melted.
Prepare the Cups
Line a muffin tin with cupcake liners. Pour a small amount of melted chocolate into each liner, just enough to cover the bottom. Use a brush or the back of a spoon to evenly coat the sides.
Make the Peanut Butter Filling
In a separate bowl, mix together the creamy peanut butter, powdered sugar, and vanilla extract until smooth. Spoon a dollop of the mixture into each chocolate-lined cup.
Top with More Chocolate
Pour the remaining melted chocolate over the peanut butter filling, ensuring it's fully covered. Tap the muffin tin gently on the counter to settle the chocolate.
Chill and Set
Refrigerate for about 30 minutes until the chocolate is firm and the cups have set. Meanwhile, whip together the heavy cream, powdered sugar, and vanilla extract until soft peaks form.
Serve
Once set, remove the peanut butter cups from the liners and serve with a dollop of vanilla cream on top or on the side.
Enjoy your homemade treats!
Professionele Tips
- To make these cups even more decadent, try adding a sprinkle of sea salt on top before chilling. It enhances the flavors tremendously!
Tips for Storage
Once your homemade peanut butter cups are fully chilled and set, storing them properly is essential for maintaining their delightful texture and flavor. Keep them in an airtight container in the fridge for up to a week. If you notice they are getting too soft, you can also store them in the freezer for longer preservation. Just make sure to layer parchment paper between them to prevent sticking.
When ready to enjoy from the freezer, allow them to sit at room temperature for about 10 to 15 minutes before serving. This will let them soften slightly, enhancing the flavor and creamy texture of both the chocolate and the peanut butter filling.
Exploring Variations
Don’t hesitate to get creative with these peanut butter cups! You can add a layer of raspberry or strawberry jam between the chocolate shell and peanut butter filling for a fruity twist. If you want to try a chocolate combination, mix in some crushed cookies like Oreos or graham crackers into the peanut butter filling for added flavor and crunch.
For those who prefer alternative sweeteners, consider using honey or maple syrup instead of powdered sugar in the peanut butter filling. Keep in mind that this may alter the texture slightly, so you can adjust with more or less peanut butter until you achieve the desired thickness.
Vragen Over Recepten
→ Can I use milk chocolate instead of dark chocolate?
Yes, you can substitute milk chocolate, but keep in mind it will make the cups sweeter.
→ How should I store the peanut butter cups?
Store them in an airtight container in the fridge for up to a week.
→ Can I use natural peanut butter?
Yes, you can use natural peanut butter, but stir it well since it can separate.
→ Is it necessary to use coconut oil?
Coconut oil helps the chocolate set smoothly, but you can omit it if you prefer.
Homemade Peanut Butter Cups with Vanilla Cream
Gemaakt door: Elspeth Murray
Recepttype: Bakcreaties
Vaardigheidsniveau: Intermediate
Eindportie: 12 cups
Wat je Nodig Hebt
For the Peanut Butter Cups
- 1 cup dark chocolate chips
- 1/2 cup creamy peanut butter
- 1/4 cup powdered sugar
- 1 teaspoon vanilla extract
- 1 tablespoon coconut oil
For the Vanilla Cream
- 1 cup heavy cream
- 1/4 cup powdered sugar
- 1 teaspoon vanilla extract
Stappen
In a microwave-safe bowl, combine the dark chocolate chips and coconut oil. Heat in the microwave in 30-second increments, stirring in between, until smooth and fully melted.
Line a muffin tin with cupcake liners. Pour a small amount of melted chocolate into each liner, just enough to cover the bottom. Use a brush or the back of a spoon to evenly coat the sides.
In a separate bowl, mix together the creamy peanut butter, powdered sugar, and vanilla extract until smooth. Spoon a dollop of the mixture into each chocolate-lined cup.
Pour the remaining melted chocolate over the peanut butter filling, ensuring it's fully covered. Tap the muffin tin gently on the counter to settle the chocolate.
Refrigerate for about 30 minutes until the chocolate is firm and the cups have set. Meanwhile, whip together the heavy cream, powdered sugar, and vanilla extract until soft peaks form.
Once set, remove the peanut butter cups from the liners and serve with a dollop of vanilla cream on top or on the side.
Extra Tips
- To make these cups even more decadent, try adding a sprinkle of sea salt on top before chilling. It enhances the flavors tremendously!
Voedingswaarde (Per Portie)
- Calories: 370 kcal
- Total Fat: 30g
- Saturated Fat: 13g
- Cholesterol: 10mg
- Sodium: 50mg
- Total Carbohydrates: 24g
- Dietary Fiber: 2g
- Sugars: 18g
- Protein: 6g